I reached that point with my Ender 3 v2. I literally picked it up walked out to the trash and forced it into the can. I didn’t want to look at that damn thing again. Such a frustrating 3d printing experience, constantly having to re-level that thing despite having the BlTouch auto leveler.
Death to 3d printing! I shouted between the tears.
About an hour later I realized I was a oversized nerd with no 3d printer. So onto the web I hoped to find another 3d printer that would make me think this is a fun hobby and not just a gaggle of masochists enjoying the trials and tribulations towards misery.
As usual there is all sorts of conflicting information to be found; this one is excellent, and it sucks and it’s the slowest and fastest printer, should be your next! and never buy this. Etc. Etc.
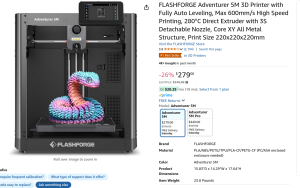
I landed on the Flashforge Adventurer 5M, mostly because the price was $280 on Amazon and for the most part people seem to be impressed, I figured it couldn’t be worse than my previous printer that shall not be named.
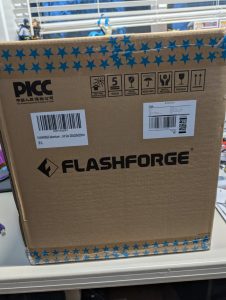
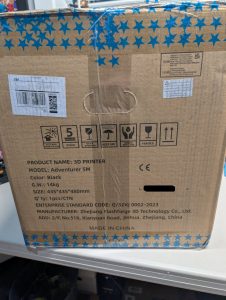
About 4 days later it showed up on the door. Box was in great shape, no shipper abuse to be found:
Open up the box and its fully assembled! This is glorious. I spent about 34 years building the “other” one from a pile of stuff. Removing some packing foam and about 15 minutes later the Adventurer 5M was fully setup and I was already printing the benchy it came with:

This thing was impressive to watch, it printed that benchy in about 15 minutes and it was smooth and just beautful!

Thus begins my new adventure, Huzzah for 3d printing!